
On a renovation site for attics, the most frustrating moment often comes during dismantling: you discover that the existing Velux does not match any reference in the current catalog. The codes have changed, the dimensions too, and installing a recent model in a frame made for an older generation can turn into a puzzle. Accurately identifying the dimensions of the old generation Velux before placing any order avoids costly adjustments to the framework.
Adapting an old Velux to the constraints of an existing frame
The frame, this opening cut into the structure, dictates everything. On a roof from the 1980s or 1990s, it was sized for a specific model, often identified by a three-digit code (type 10, 21, or 44) that no longer appears in current ranges.
Before ordering, measure the inside of the frame in width and height, at a minimum of three points (top, middle, bottom). A difference of a few millimeters between the top and bottom is common on old frameworks, and it is the smallest measurement that serves as the reference.
To find the correspondence between an old code and a current reference (CK, MK, SK, UK), simply consult the conversion tables published by Velux or by specialized distributors. A detailed summary of old generation Velux dimensions can be found on SOS Urgence Dépannage, which compares the old codes with modern equivalents.
If the frame is too narrow or too wide for a standard current model, two options are available:
- Modify the frame by adding or moving a rafter, which requires a carpenter and a check of the load-bearing structure.
- Use an adaptation kit (expanded connection collar) offered by some manufacturers to fill a moderate gap, usually less than two centimeters.
- Opt for a custom frame if the gap exceeds the tolerance of the kits, a more expensive solution but one that preserves the existing structure.

Reference codes for old generation Velux: decoding the nameplate
Each Velux has a metal plate attached to the top of the opening frame or on the edge of the frame. It displays the model reference (GGL, GGU, VES, GPL), followed by a dimensional code and sometimes a serial number.
On models from before the year 2000, the dimensional code is a single digit: 1, 2, 4, 6, 8, 9, 10, etc. Each digit corresponds to specific overall width and height. For example, a GGL 4 does not measure the same as a GGL 9. Confusing these codes means ordering an incompatible window.
Where to find the plate when it has disappeared
After decades under an interior covering, the plate is sometimes unreadable or missing. In this case, measuring the glazing alone is not enough. You need to take the overall dimensions of the frame (the structure fixed in the frame), including the sealing grooves.
Then compare these measurements to the tables of old dimensions. The GGL and GFL series, very common in the French market, followed a stable coding system between the late 1970s and the mid-2000s, which facilitates identification.
Replacing an old Velux: the pitfalls that compromise waterproofing
Changing an old generation Velux is not just about sliding a new frame into the opening. The connection between the window and the roofing (called a collar or connection kit) depends on the type of tile or slate and the slope of the roof.
A connection kit designed for flat tiles does not work on interlocking tiles. On older installations, the original kit is often welded or glued to the support, and its removal damages the surrounding tiles. Planning to replace a few tiles around the opening avoids unpleasant surprises on installation day.
Air tightness and thermal insulation
Recent models integrate double or triple glazing with significantly better thermal insulation than the old single glazing or early double glazing. When replacing, take the opportunity to check the peripheral insulation between the frame and the structure.
In many houses built before the 1990s, this space is filled with compacted fiberglass or degraded expanding foam. Replacing the peripheral insulation at the same time as the window eliminates a thermal bridge that the new glazing alone will not correct.
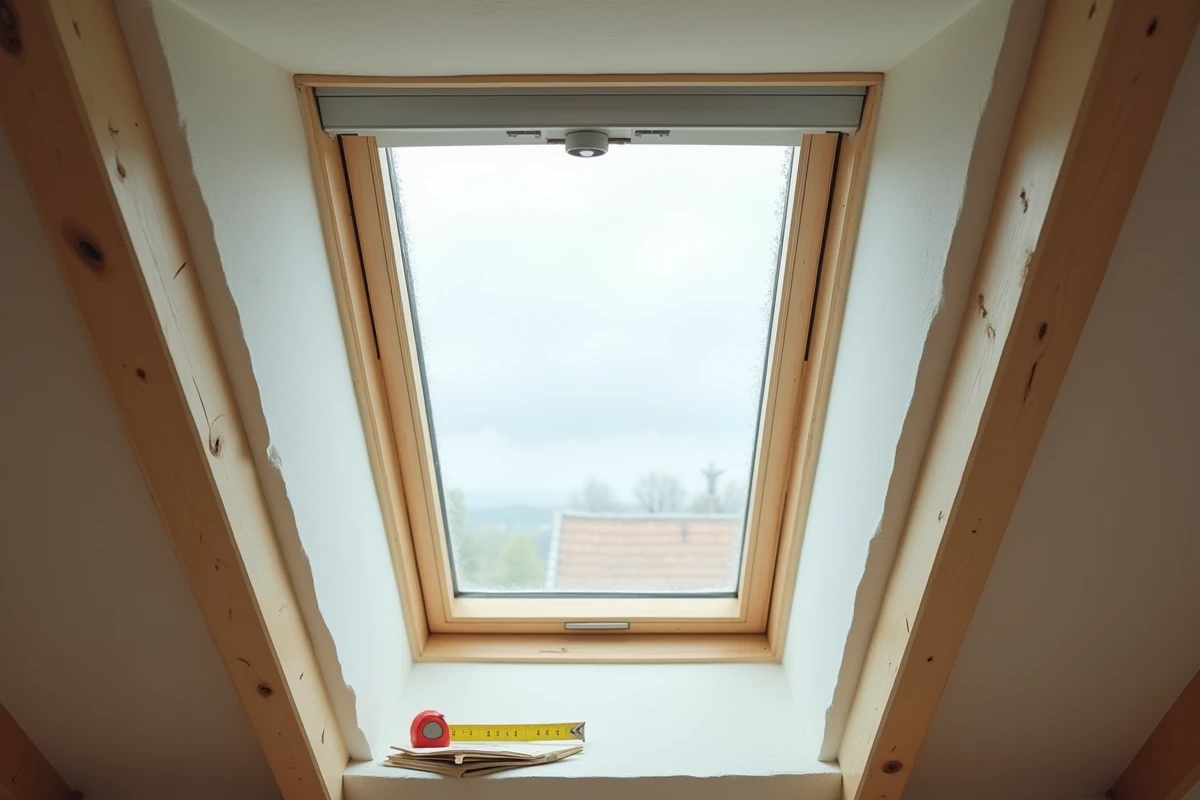
Light transmission and comfort: what changes with a recent model
Beyond dimensional issues, transitioning from an old Velux to a current model significantly alters indoor brightness. According to a bulletin from CSTB, old glazing (three-digit codes) offers approximately 15% lower light transmission compared to recent models from the SK and MK ranges.
In practical terms, in a north-facing attic bedroom, this difference translates into a noticeable gain in visual comfort from the first days. The useful glazed area also slightly increases in the new generations thanks to thinner profiles, even with identical overall dimensions.
What size Velux for which room
The commonly accepted rule is that the glazed area should represent at least one-sixth of the floor area of the room. For a twelve-square-meter attic office, a Velux measuring 78 x 118 cm (equivalent to MK06) meets this ratio. For a larger living room, two windows side by side are often preferred over a single oversized model, which distributes light better and limits stress on the framework.
Feedback varies on this point depending on the roof orientation and the height under the ridge, but two medium Velux are almost always better than one large one in terms of ventilation and uniform brightness.
Before finalizing an order, checking the compatibility of the interior blind with the new reference remains a precaution often overlooked. Old Velux blinds do not fit the rails of recent models, and the budget for blinds can represent an unanticipated expense if not planned from the start.