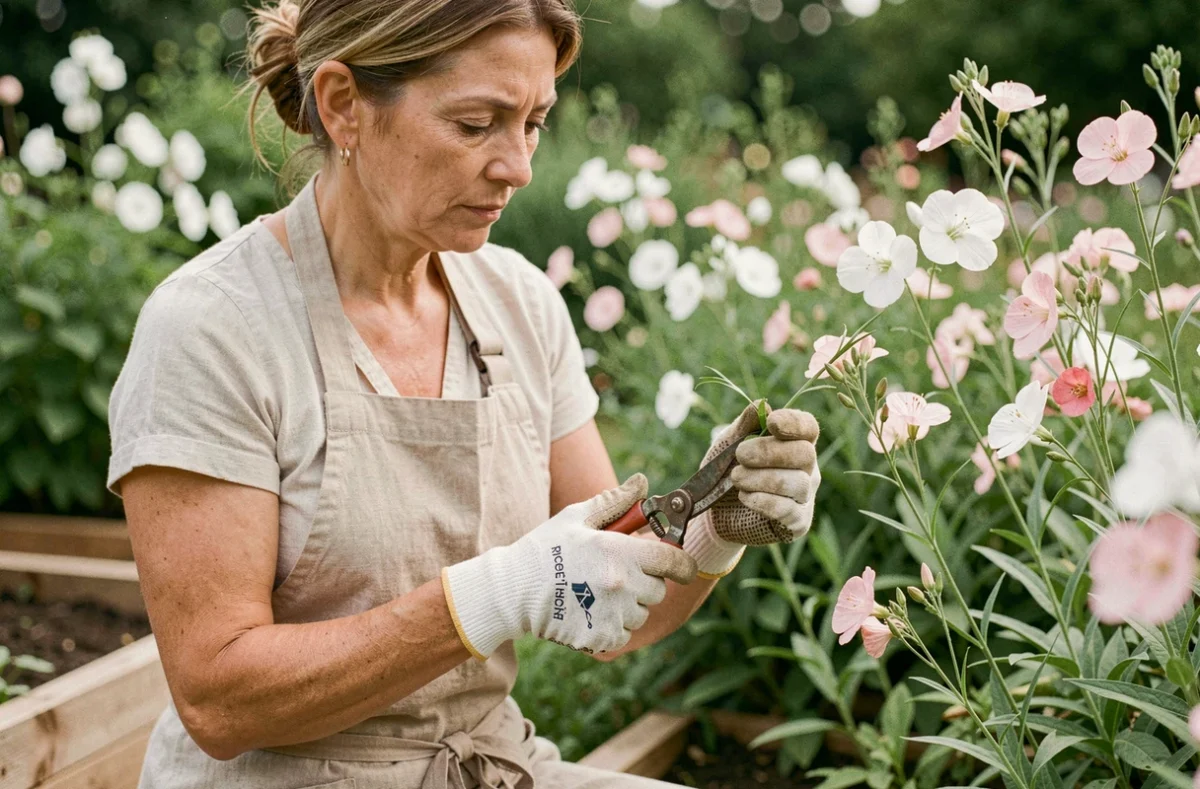
The gaura (Oenothera lindheimeri, formerly Gaura lindheimeri) propagates through herbaceous cuttings taken from non-flowering stems of a healthy mother plant. This vegetative technique produces a plant that is genetically identical to the parent, which distinguishes it from seeding where the characteristics of the cultivar (color, habit) are not guaranteed. Taking cuttings from a gaura remains accessible, provided that a few constraints related to the fragility of its fine stems and its sensitivity to stagnant moisture are respected.
Gaura Cutting and Cultivar Fidelity: A Technical Choice
Before taking a stem, the first question to address concerns the purpose of the propagation. Gaura seeding works well, and spontaneous seedlings regularly appear in the garden for certain cultivars. However, these young plants from seeds exhibit variations in color or habit.
Cutting reproduces the cultivar exactly. To maintain a gaura ‘Siskiyou Pink’ with its characteristic pink hue, or a ‘Gaudi Red’ with a compact habit, vegetative cutting remains the only reliable method. Seeding, on the other hand, can produce plants that revert to the typical white form.
A point rarely mentioned in gardening guides: some cultivars of gaura are protected by a plant variety right. Before distributing cuttings to neighbors or offering them during a plant swap, checking the label of the mother plant helps avoid unauthorized use. To successfully propagate gaura cuttings according to the rules, this precaution should be taken from the start.
Choosing the Stem and the Right Time to Cut Gaura
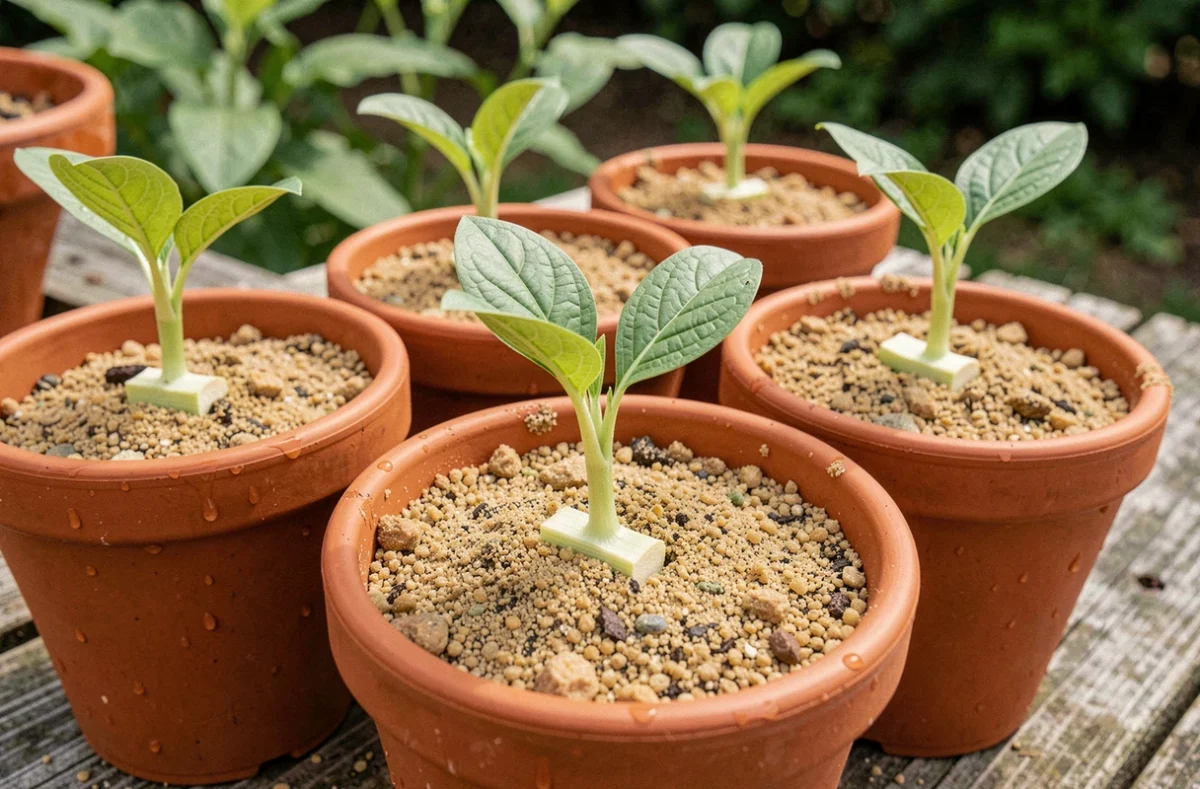
Gaura is propagated from herbaceous, flexible, and non-flowering stems. A stem that bears flower buds or open flowers focuses its energy on sexual reproduction, not on root production. The selection of the stem directly affects the success rate.
Criteria for Selecting a Stem
- Choose a lateral shoot from the current year, green and firm, long enough to retain at least three to four nodes after cutting
- Avoid woody stems at the base (too hard) and overly tender terminal shoots (they wilt quickly)
- Cut just below a node with disinfected pruning shears, as it is at the node that root cells form
The most favorable period is late spring and early summer when the plant is in full vegetative growth. Gaura grows quickly in warm weather: cuttings taken at this stage produce roots faster than in autumn.
Substrate and Rooting Conditions for Gaura Cuttings
The fine stems of gaura naturally contain few rooting hormones. Applying a powdered rooting hormone to the base of the stem significantly improves the chances of success. Dip the fresh cut in the powder, tap off the excess, and then insert the stem into the substrate.
The substrate must be very well-draining. A mix of equal parts light potting soil and perlite (or coarse sand) works well. Gaura dislikes stagnant water, even at the cutting stage: a substrate that retains too much moisture causes the base to rot before roots appear.
Managing Humidity Without Excess
Keep the substrate slightly moist, never soggy. A veil or transparent dome placed over the pot creates a confined atmosphere that limits evaporation through the leaves. Removing this protection for a few minutes each day prevents excessive condensation and mold.
Place the cuttings in indirect light, not in full sun. Too direct exposure dries out the stems before they have had time to produce roots. A south-facing windowsill or a shaded frame in the garden provides suitable conditions.

From Pot to Garden: Successfully Installing the Final Planting
Rooting generally takes a few weeks. A slight resistance when gently pulling on the stem indicates that roots have formed. At this stage, the cutting can be repotted individually into a larger pot with well-draining standard potting soil.
Successfully rooting in a pot does not guarantee survival in the garden. Gaura does not tolerate heavy, waterlogged soils in winter. The drainage of the planting site remains a distinct issue from the cutting technique itself. A compact clay soil can kill a perfectly rooted young plant in just a few months.
- Prefer a location in full sun, in light, sandy, or gravelly soil
- Add gravel to the bottom of the planting hole if the ground retains water
- Avoid areas where water stands after rain, even briefly
- Preferably plant in spring to allow the gaura time to settle in before winter
To prevent spontaneous seedlings that sometimes colonize the beds, cutting the wilted flower stalks before seed formation limits dispersal. This pruning has a dual effect: it channels flowering and prevents gaura from reseeding where they are not wanted.
Gaura remains a perennial with a modest lifespan. Even in well-drained soil, a plant exhausts itself after a few years. Regularly renewing plants through cuttings allows you to maintain the variety in the garden without having to buy pots from the nursery. Cuttings ensure this continuity better than any other method of propagation.